
How to Check Your Car's Fluid Levels Safely
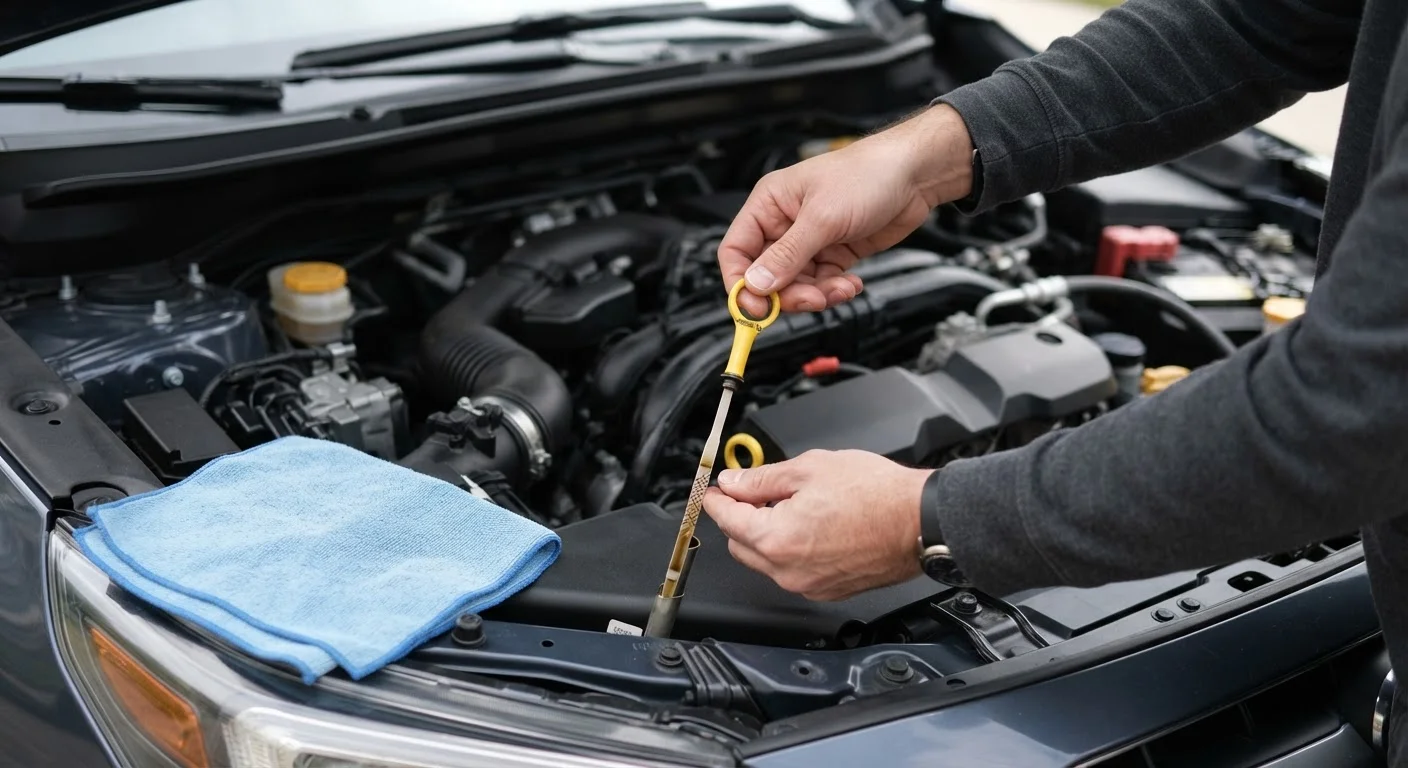
Photo credit: TheBlogZappier.com | Simple Search, Credible Results
In this article
Step-by-step guidance for checking engine oil, coolant, brake fluid, and other key fluids — and what normal readings look like.
Key Takeaways
- Fluid checks take under 30 minutes and require no special tools or mechanical training.
- Always let the engine cool for at least 15 minutes before checking oil or coolant.
- Five key systems to inspect: engine oil, coolant, brake fluid, power steering fluid, and washer fluid.
- Fluid color and consistency are as important as the level when assessing vehicle health.
- A rapid drop in fluid level between monthly checks is a stronger warning sign than a single low reading.
- Milky coolant or repeatedly dropping brake fluid requires a qualified mechanic, not a DIY top-up.
Before You Begin
Checking your vehicle's fluids is one of the most accessible forms of preventive maintenance any driver can perform. Unlike brake inspections or tyre rotations, it requires no lifting equipment, no specialized tools, and no mechanical background - just a few focused minutes under the hood and a basic awareness of where things live in your engine bay.
Most modern vehicles group reservoirs and dipsticks near the top of the engine, within easy reach and typically labeled. A quick review of your owner's manual before your first check will help you identify each component and confirm the correct fluid specifications for your vehicle - because the right grade of oil and the correct coolant formulation matter as much as the level itself.
Plan to run through these checks monthly and before any extended road trip. They pair naturally with the broader routine maintenance schedule your manufacturer recommends for service intervals. For a comprehensive overview of car care from oil changes to major service milestones, the Complete Guide to Car Maintenance is a useful companion resource.
Here's what you'll need before you start:
What you will need
Lint-free cloths or paper towels
Used to wipe dipsticks completely clean before taking a reading, and to catch any incidental drips.
Flashlight
Helps illuminate a dim engine bay so fluid levels and colors are easier to read accurately.
Automotive funnel
Prevents spills when adding fluid to reservoirs with narrow openings.
Replacement fluids matching manufacturer specifications
For topping up any reservoir found to be below the midpoint during checks.
Follow These Steps in Sequence
Each fluid serves a specific function, and the steps below cover five key systems in a sequence that follows a logical flow around a typical engine bay. Work through them in order, and consult your owner's manual if you're unsure where a particular reservoir is located on your specific vehicle. Once you've completed the routine a time or two, the full check should take no more than 15 to 20 minutes.
Park on Level Ground and Let the Engine Cool
Pull into a flat, level surface - a driveway or quiet parking lot works well. Turn off the engine and leave the hood closed for at least 15 minutes, ideally 30 after highway driving. A level surface ensures accurate dipstick readings; adequate cool-down time protects you from burns and allows oil to drain back into the sump for a reliable measurement.
Open and Secure the Hood
Pull the interior hood release lever, typically located beneath the dashboard on the driver's side. Move to the front of the vehicle, feel for the secondary safety latch beneath the hood's leading edge, and lift. Engage the prop rod or hood stay to hold it firmly in place, and confirm it is stable before reaching into the engine bay.
Check the Engine Oil
Locate the oil dipstick - usually a brightly colored handle (often yellow or orange) extending from the engine block. Pull it out and wipe it completely clean with a lint-free cloth. Reinsert it fully until it seats, then withdraw it steadily. Read the oil film against the MIN and MAX markers: the level should fall between them. Note the color - healthy oil is amber to light brown. Very dark, gritty, or milky oil indicates a condition that goes beyond a simple top-up.
Check the Engine Coolant
Locate the translucent coolant overflow reservoir - it is separate from the radiator cap and has MIN and MAX lines printed on the side. Read the level visually without removing any caps or covers. Coolant should appear semi-translucent in a shade of green, orange, or pink depending on the formulation used in your vehicle. Any reading that looks milky, oily, or foamy warrants professional inspection before you drive the vehicle further.
Inspect the Brake Fluid
The brake fluid reservoir is a small translucent container near the firewall on the driver's side, typically capped with a lid labeled BRAKE FLUID or a brake icon. Check the level against the MIN and MAX marks on the side without opening it. Fresh brake fluid is clear to pale yellow; fluid that has turned dark brown may have absorbed moisture over time, reducing its effectiveness, and a flush is advisable - a task for a qualified technician.
Check Power Steering Fluid (If Your Vehicle Has It)
Many vehicles - particularly those built after the early 2010s - use electric power steering and have no fluid reservoir. If your vehicle has a hydraulic system, locate the reservoir (consult your owner's manual for the exact position) and check the level via the dipstick attached to the underside of the cap, or via graduated markings on the side. The fluid should be clear to light amber. A dark, foamy, or burnt-smelling fluid suggests it may need attention at your next service visit.
Check Windshield Washer Fluid, Then Close Up
Washer fluid can be checked and refilled regardless of engine temperature. Find the reservoir - usually identified by a blue cap with a windshield icon - and check the level. Top up with premixed washer fluid rated for your local climate; avoid substituting plain water in cold weather, as it can freeze in the lines and damage the pump. Once all checks are complete, lower the hood firmly until it latches and make a note of any readings that need follow-up action.
Never Open a Hot Radiator Cap
The engine cooling system is pressurized. Opening the radiator cap while the engine is still warm - even minutes after it was running - can cause hot coolant to spray out forcefully and cause serious burns. Always monitor coolant through the separate overflow reservoir, and only touch the radiator cap when the engine has been off for at least 30 minutes and the cap feels completely cool to the touch.
Reading Your Results and Knowing When to Escalate
A reading that sits between the midpoint and minimum line generally calls for a top-up rather than urgent concern. What matters more is the trend over time. If a reservoir registered at full last month and is now approaching minimum, that rate of loss - rather than the single reading itself - signals a potential leak or internal issue that a mechanic should examine.
Fluid appearance is equally informative. Engine oil that looks amber to light brown is healthy; oil that appears nearly black, smells burnt, or feels gritty on the dipstick is overdue for a change. Coolant should be semi-translucent in a shade of green, orange, or pink - a milky, oily, or foamy appearance may indicate a head gasket problem and calls for prompt professional inspection. Brake fluid is typically clear to pale yellow when fresh; fluid that has darkened significantly may have absorbed moisture, reducing its effectiveness. Power steering fluid that has darkened noticeably or smells burnt is a useful data point to raise at your next service appointment.
Windshield washer fluid is the one system where a low reading truly is just a top-up, with no deeper diagnostic implication.
If you notice drips, puddles, or staining beneath your parked vehicle, our fluid leaks guide walks through how color, consistency, and location help identify the source. Temperature changes also affect how fluids behave and what concentrations are appropriate - seasonal car maintenance covers those adjustments in detail.
Some Fluid Readings Require a Mechanic, Not a Refill
If your coolant appears milky or foamy, do not simply add more fluid - this appearance can indicate a head gasket failure, and continuing to drive with that condition can cause serious engine damage. Similarly, if brake fluid or power steering fluid levels drop repeatedly after topping up, that pattern suggests a leak that a qualified mechanic must locate and repair before the vehicle is considered safe to drive.
This article is for general informational purposes only. Always consult your vehicle's owner's manual and seek advice from a qualified mechanic for guidance specific to your vehicle.

Author
Autos & Driving Editorial Team
Autos & Driving Editorial Team is the collective byline for our editorial team and contributor network. Articles published under this byline or an editorial pen name are researched, written, and reviewed according to our editorial standards for clarity, consistency, and independence before publication.
View all articles →